After progressing through the Candy Factory by avoiding the Supervisor and reaching the mysterious mirror, Low and Alone will reach the Carnevale. It is the third chapter of the story, where players have to deal with more challenges and a new threat, the Kin and Mini-Kin. In this guide, we will walk you through Chapter 3: Carnevale in Little Nightmares 3.
Chapter 3: Carnevale Walkthrough – Little Nightmares 3
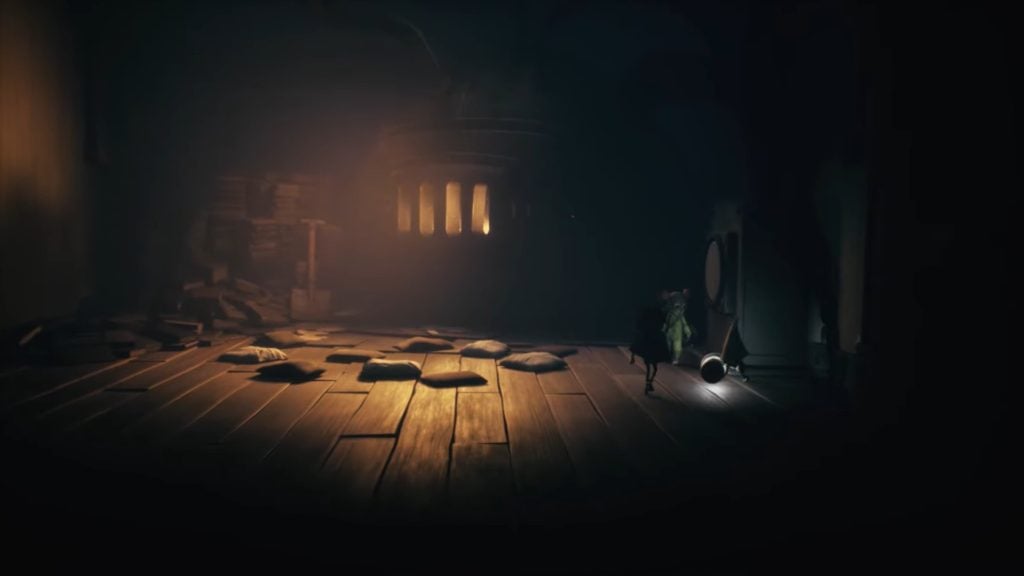
Upon getting control of your character, you will see a Nome running out of the room. Open the door by pulling the door handle, and then go to the desk in the next room. Pull the right drawer to see the Nome again and follow it to the Sofa on the right. Jump on the Sofa to make the Nome leave its position again. The Nome will hide behind a glass bottle. Shoot an arrow at the bottle to break it. As Nome leaves the area, it will drop down the ladder. Now, pull the cart out from the desk and make your jump on it to reach the ladder.
Activate the Elevator
Continue along the path to drop down into a hallway. If you head to the door on the left, you will see an elevator with a missing fuse. To get the fuse, go to the back of the hallway and go inside the room on the right. Here, you will see a Nome staring at a button. Let Alone hit the button with the wrench to turn on the furnace. After that, the Nome will give you the fuse for the elevator. Pick up the fuse and go back to the room with the elevator. Place the fuse into the switch and enter the elevator. Pull the lever in the elevator to go up.
Power Up the Contraption
As you get out of the elevator, you will find a flashlight on the floor. Pick it up and use it by pressing the R3/RS button. Go to the right to reach a big circular area. Here, you will see a lever to activate a contraption, but it will have no power. Continue to the right and make your way through the small vent pass-through to enter a room with a machine with several buttons. You need to activate the correct combination of buttons and pull the lever to power up the contraption in the big area.
The answer for the correct combination of buttons is hidden behind the screen on the right. Hang on the screen to pull it up and reveal the combination of buttons you need to press. Once you are ready, Alone needs to hit the big button at the bottom of the machine to start the process. Now, the machine will blink on each button, and Low needs to shoot the arrow at the correct buttons. Here is the correct pattern.
First RowOffOffOnOnSecond RowOffOnOffOnThird RowOffOnOnOff
Head Up to the Locked Room
Upon activating the correct combination of buttons, the door on the left will unlock. Go back to the big hall and pull the lever down to reveal the contraption. Now, rotate the contraption to the left so that the top panel gets close to the balcony on the right. Jump up the panels to reach the balcony and make your way through the open door on the right. You will enter a room with a wine rack. Climb up the wine rack to reach the bathtub and the chain to climb up.
After that, squeeze through the gap on the left and open the door by boosting on the door handle. You will reach a dark hallway. Equip the flashlight and go to the room on the left in the hallway with a body inside. Climb up the drawers to reach the vent and make your way through it. Keep heading left and follow the path to enter a room with a puppet tied to a pipe.
Open the Locked Door and Start the Furnace
The door on the left will have a lock, and you need to find its key to unlock it. To get the key, Low needs to show at arrow at the puppet’s head, and Alone needs to smash the head with the wrench. Once done, pick up the key and open the lock. Now, continue heading left and make your way up the staircase to enter a room with the furnace.
You need to start the furnace so that you can make your way up. Firstly, one of the characters needs to pull the furnace’s door, and the second character needs to throw coal inside the furnace. It will take three coals to fill the furnace. Once it is full, pull the cord to start it. Now, climb up on the pumps to make your way up and reach the vent. Head to the right along the pipe and climb the wagons. Here, you will reach the carnival area and another door with a lock on it.
Find the Key to the Door and Defeat the Puppets
Pull the lever to turn on the lights in the area. Go to the left to spot a rope attached to a wagon. Shoot the rope and climb the wagon. Continue to the left to enter a room with four empty chairs. Squeeze through the gap on the left to enter another room with a key in it. Go to the table and boost to reach the table. Get down from the other side and push the cabinet. Let the other character join you and then perform the boost jump again to reach the key.
Now, head back and you will see four puppets sitting on the chairs. Stay on the track and make your way back to the door. Interact with it to open the lock with the key. Continue going right, and you will enter a room where you will have to fight the four puppets.
To defeat the puppets, Low needs to shoot an arrow at their heads, and Alone needs to smash them with the wrench. However, Low and Alone need to move constantly, as the beheaded puppets will follow and try to catch them. After defeating the puppets, jump on the trap door in the corner of the room.
Get Past the Herd and the Puppets
Make your way through the floorboards to come out of the hole at the carnival area. Keep heading right to reach an open area with several people standing at the shops. Go to the net in the middle and climb on top of it. Use the zipline to cross to the other side. You will reach an Apple Bobbing game stall. If you go to the right, you will see one of the Herd blocking the path.
Pull the apple trolley close to the person to make him move. As he begins to eat the apples, make your way through the gap in the tent. Continue heading right to come across a couple of puppets enjoying the beating show. Do not run or walk while crossing; instead, do a crouch walk to sneak past the puppets. As you enter the next tent, you will see a man cut in half over a dunk tank. Shoot an arrow at the target to drop the man into the tank.
Climb up the tank and reach the ladder to make your way out of the tent. Push the trash bin ahead and squeeze through the gap. Here, you will have to crouch walk through a narrow path to avoid the resting puppets. At the end of the path, squeeze through the gap on the right. Continue going right and push through the pet door to enter a room with a radio.
Open a Secret Path in the Radio Room
In the radio room, you will see a crank that you can rotate to change the radio frequency. However, it will not work due to a lack of power. To power up the radio, go through the floorboard in the room to reach the outside. Here, you will see the fuse switch. Climb on the box to reach the rope on the left side. It will take you to a small room with a fuse on the shelf. Shoot an arrow at the shelf to make the fuse fall to the floor.
Pick up the fuse and throw it through the window to the radio room. Now, jump through the window and pick up the fuse. Make your way back to the fuse switch outside and plug it in. Once done, head back inside through the rope. Interact with the crank and rotate it to the right until you hear carnival music and the light on the left turns on. Hold the crank at this station and let the other character jump on the light to open a secret path in the room.
Get Past the Blindfolded Herd
Head up the ladder in the secret path and use the zipline to continue ahead. You will drop down into a tent with a man cut in half. Pull the lower section to the right and jump on it to reach the counter. Drop down into the hole and wait for a moment until the Herd goes away. Continue to the right until you reach a door with cracked wood. Alone needs to break the door using her wrench. You will reach an area with a blindfolded herd trying to hit a piñata with a stick.
If you go to the right, you will see a cracked counter. Press the call button while standing near the counter to call the blindfolded herd. As he gets close to the counter, move away to not get hit by the stick. He will break the counter, opening the path for you to continue.
Reach the Broken Mirror
Go to the right until you come across a well with a handle hanging above it. Jump on the handle to descend into the well. Now, continue along the path in the well to climb back up to the surface. Keep heading in the right direction until you come across a railcar. Enjoy the ride as it takes you to an old carnival place.
After the ride, open the door on the right, and you will find the mirror. Unfortunately, the mirror will be broken. To escape the carnival, you will have to find another way. Continue to the right to come across a locked door. Jump up on the box and the shade above the door to reach the roof. Jump inside the chimney to get into the room. Go to the right side to come across an elevator. Shoot an arrow at the button and step inside the elevator.
Pull the lever to start the elevator. After getting out of the elevator, you will reach a dark hallway. Go to the end of the hallway and go to the right. Make your way through the vent to step inside a room with Kin and Mini Kin watching TV.
Get Past Kin and Mini Kin
Crouch walk to the right of the room and remove a couple of planks. It will give your location to Kin and Mini Kin, but you have to hide so as not to get caught. Hide inside the crate in the next room and let Mini Kin go ahead. In this very room, you need to open the hatch to escape. However, you will have to get the crank.
Now, go to the next room and wait for Kin to come inside the room to feed Mini Kin. While this is happening, crouch walk underneath the table and go to the hole on the right. Here, you will see a lever on the wall. Pull the lever to distract Kin and Mini Kin, and then hide back inside the hole. Once both of them are there, go back and pick up the crank from the table. Run back to the room with a hatch and open it using the crank. Make sure that you are quick, and you only need to open the hatch enough to slide through it.
Now, open the vent on the right and continue along the path to come across a steam pipe area. Wait for the steam to clear and then cross to the other side. As you go out to the next room, you will see a movable platform. You need to use the switch on the left side to move your partner to the other side while avoiding the steam coming out from the pipe. Once done, your partner needs to repeat the same process to bring you to the right side.
In the next room, a chase sequence will begin. Simply outrun the Mini Kin until you step inside the elevator.
Escape from Kin and Mini Kin
After getting caught by Kin and Mini Kin, Low will be in a dangling cage, and Alone will be in a cage on the floor. To escape the cage, Low and Alone need to work together. As Alone comes out of the cage, Low needs to distract Kin and Mini Kin using the call. As Kin and Mini Kin go to Low, Alone needs to crouch walk behind the shade. After that, interact with the crank to move Low’s cage to the right, close to Nome’s cage.
Once close enough, Low needs to shoot an arrow at the rope of Nome’s cage to free him. It will distract Kin and Mini Kin, making them leave the room. Now, Alone needs to climb up the ladder left of Low’s Cage and jump on the cage to break Low free.
Now, go through the door on the right to reach a room with a desk in the middle. Go underneath the desk and pull out the trunk. Walk again underneath the desk to drop down under the floorboard. Make your way to the right and witness the fate of Nome. Climb up and go to the central room. Go to the boxes in the left corner and do a boost jump to climb up to the ceiling.
Make your way across to the right side and interact with the lever to lower the chandelier and bring Alone up. Now, open the door on the right and continue ahead. Hang on the rope to drop down into an area with Kin and Mini Kin.
Get the Stage Key and Escape from Kin and Mini Kin
Now, it’s the final stretch to make your escape for good. Crouch walk to the box in the middle, and Kin will place the Stage key on the box. Go to the right and open the small door to enter a hallway. Go up the hallway and enter the elevator. Pull down the lever to go up. Climb on the boxes on the left side and go through the window. Now, hang from the rope to descend on the box with the key on it.
Grab the key and then drop down. Now, go back to the small door on the right. Once you are in the hallway, open the first door on the right using the key. It will raise the alarm, initiating the final chase scene. Sprint through the path and make the jump to climb up the ladder. You will enter a room full of shoes.
Exit the room and go to the main hallway. Run again and make your way to a cracked door. Alone needs to break the door before Kin gets to you. Enter the room and shoot an arrow at the button to open the window. Continue ahead and get on the Hot Air Balloon. Both Alone and Low need to hang from the lever in the balloon to raise the flame to make the escape. As Mini Kin gets on the balloon, lower the lever once again to set Mini Kin on fire and make the escape.
As the Hot Air Balloon begins to drift away, it will conclude Chapter 3: Carnevale. The balloon will take them to a new place, initiating the final Chapter, The Institute.
The post Little Nightmares 3: Chapter 3 Carnevale Walkthrough appeared first on Nintendo Smash: Video Games News, Reviews & Guides.
No responses yet