After progressing through the Necropolis by avoiding the Monster Baby and reaching the mysterious mirror, Low and Alone will reach the Candy Factory. It is the second chapter of the story, where players have to deal with more challenges and a new threat, the Supervisor. In this guide, we will walk you through Chapter 2: Candy Factory in Little Nightmares 3.
Chapter 2: Candy Factory Walkthrough – Little Nightmares 3
Low and Alone will spawn outside of the Candy Factory. It is a new location that players have to explore and survive. Once you have control of your character, go to the right side and make your way through the pipes. After coming out of the pipes, climb up the small ladder. Here, you will see a button on the floor. Alone has to strike the Wrench tool on the button to activate the bridge. Cross to the other side and then break the chain to release the ladder. Climb up the ladder and then climb up the planks to reach outside the Supervisor’s Office. Open the window to go inside and then open the small door to reach the office.
Get Past the Supervisor
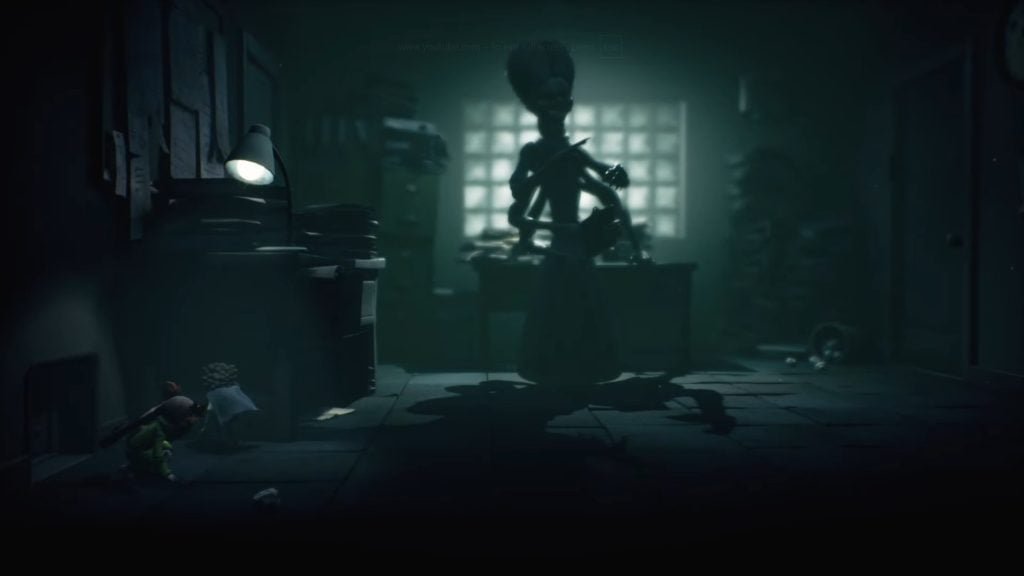
As you step inside the office, hide behind the desk and wait for the supervisor to come to the cabinets on the right. Crouch walk to underneath the desk in the middle while the supervisor is checking the cabinets. Wait underneath the desk until the supervisor leaves the room. Now, leave the room and go to the end of the hallway. Push the trolley to the desk at the end of the hallway. Climb up on the trolley to reach the top of the desk, and then squeeze through the gap.
You will enter a room with an electric water on the floor. Shoot an arrow at the switch to turn off the electricity and open the small door on the right. In the next room, you will encounter the Supervisor again. As the Supervisor goes to the right side of the files, crouch walk to hide underneath the desk in the middle. Wait for a moment to let the Supervisor go to the left side, and then crouch walk to the cabinet on the right side. Climb the ladder and go through the small pass-through. Drop down into the room and pull the lever to open the door.
It will initiate a chase sequence with the Supervisor. Sprint to the right side and push the door at the end.
Get Through the Candy Dump Site
Upon escaping the Supervisor, Low and Alone will drop down into the Candy Dump Site. This area will have a ton of candies littered around and bugs in the darkness. Go through the vent on the right and pick up the fuse from the wall. Now, cross through the darkness to find the fuse switch on the right side. Put the fuse into the switch and then climb up the ladder. Once you reach the room above, pull the lever down to activate the light. Now, head out of the room through the vent on the right and get a glimpse of the Candy Factory.
Cross to the other side and climb the ladder to go into a room. Break the chain using the Alone’s wrench and go ahead. Here, you will get to see the Candy Dump Site. Cross through the dump site to enter a room filled with bugs. Climb the metal rods to cross to the other side and pull the lever to turn on the light. Once all the bugs are scattered away, jump on the trap door with your partner to break it. Now, go through the vent and make your way up to the hallway with an elevator.
Power Up the Elevator
You need to power up the elevator in the hallway to progress. There will be two fuse switches beside the elevator door.
For the first fuse, go to the left of the elevator and jump into the pipe. Cross to the room on the left and make your way to the lever left of the trays. Direct your partner to the lever to make them pull the lever. Now, climb up the trays and grab onto one of the hooks. Drop down into the room on the left and pick up the fuse from the wall. Throw the fuse through the fan and then pick it up to take it back to the elevator.
For the second fuse, go to the right of the elevator and break the glass. Continue ahead to make your way to a big room with a hooked worker. Drop down and climb the boxes to go inside the room. Do a boost jump to climb the boxes in the room and pick up the second fuse. Now, go back outside, and you will see the hooked worker smashed on the floor. Throw the fuse through the shelf and then go through it. Pick up the fuse and then make your way back to the elevator. Plug in the second elevator to power it up.
Step inside the elevator and pull the lever to go up to the Control Room level.
The Control Room
After getting out of the elevator, go to the right and open the window. Continue to the right to make your way inside another building with the Control Room. As you drop down into the hallway, break the window to step inside a room. Call your partner to pull the cabinet and climb up to make your way to the control room.
As you drop down into the control room, the door will open. Push the crate underneath the door so that the door does not close when you leave the room. Now, call in your partner and ask for a boost to pull the lever. It will deactivate all the cameras in the factory. Now, head out of the control room and back into the hallway. Go inside the room on the right and stay on the wooden plank until the Supervisor leaves. Drop down into the room and open the small door on the right to initiate a cutscene.
Supervisor 2nd Encounter
After the cutscene, climb up the shelf and make your way through the vents. As you reach an area with the pipes, you will notice that the Supervisor is on to you. Continue to the right and pull the lever to open the door. Now, keep sprinting to the right to avoid the Supervisor from catching you. As you enter a room with the elevator, step inside it. The elevator will drop down, and another brief cutscene will play. After the cutscene, make your way to the right to reach a room with the Minecart puzzle.
Minecart Puzzle
In the room with the minecart, you need to find a way to reach the lever to open the hatch on the floor. The minecart will be empty, and you need to fill it with candy to get on top of it. To get started, one of the characters needs to pull the lever to change the tracks, and the other needs to push the cart to the left side. Once done, change the tracks again and then push the cart towards the door on the right.
Here, Low needs to shoot an arrow at the button to open the door. Push the cart to the end to fill it with candy. Now, push the cart back to the left side and climb on top of it. Jump on the lever to open the hatch and drop down.
Supervisor Final Encounter
As you drop down from the hatch, a brief cutscene will play. After the cutscene, open the vent casing to initiate the chase down with the Supervisor. Run through the vent to make your way to the next room. Climb up on the chair to go into the next room and hide inside the crate beside the door. Let the supervisor leave and go out the door.
Now, run to the right over the boxes to reach a room with a metal vice. Go to its end and pull the lever to squash the Supervisor under the metal vice. After dealing with the Supervisor, go to the end of the hallway and turn right. Go to the back right of the room to find the mirror. Interact with the mirror to conclude the Candy Factory chapter.
It will teleport Low and Alone to a new location, initiating Chapter 3: Carnevale. Moreover, you will earn the “Unsupervised” achievement for finishing Chapter 2: Candy Factory.
The post Little Nightmares 3: Chapter 2 Candy Factory Walkthrough appeared first on Nintendo Smash: Video Games News, Reviews & Guides.
No responses yet