Tales of the Shire is a new cozy life-sim videogame, which takes place in Bywater, a village of hobbits. As players arrive in Bywater with Gandalf, they will have to work and bring the locals together to form a community. It requires a lot of bonding via hosting meals, which will help the players build relationships with the local hobbits. However, one of the initial steps before players can host meals is Gardening. Growing crops, fruits, spices, and flowers in your garden and then using those ingredients in cooking meals will help a lot in building good relationships. In this guide, we will tell you everything you want to know about the gardening activity in Tales of the Shire.
Gardening in Tales of the Shire
Gardening is one of the main activities in Tales of the Shire. It is essential for growing crops, fruits, spices, and flowers. Moreover, tending to the crops carefully will help you harvest a high star vegetable. Using quality ingredients for the meals will enhance the recipe, which results in better relationships.
Here is an overview of all the basics of the Gardening activity in Tales of the Shire.
1. Garden Beds
Garden Beds are essential for growing any crops, fruits, spices, and flowers in Tales of the Shire. The Garden Beds work as a soil for the crops, as you cannot till any ground in the game. As players get access to their home in Bywater, they will start with five Garden Beds. They can move and place the Garden Beds to their liking to give a better look to their garden. Increasing the number of Garden Beds relies on the relationship with Willow. Players have to invite Willow to the meals to increase the friendship and unlock the expansion for the house. As players expand their house, the capacity of the maximum number of Garden Beds will also increase. It will help players grow more crops at a time.
2. Planting the Seeds
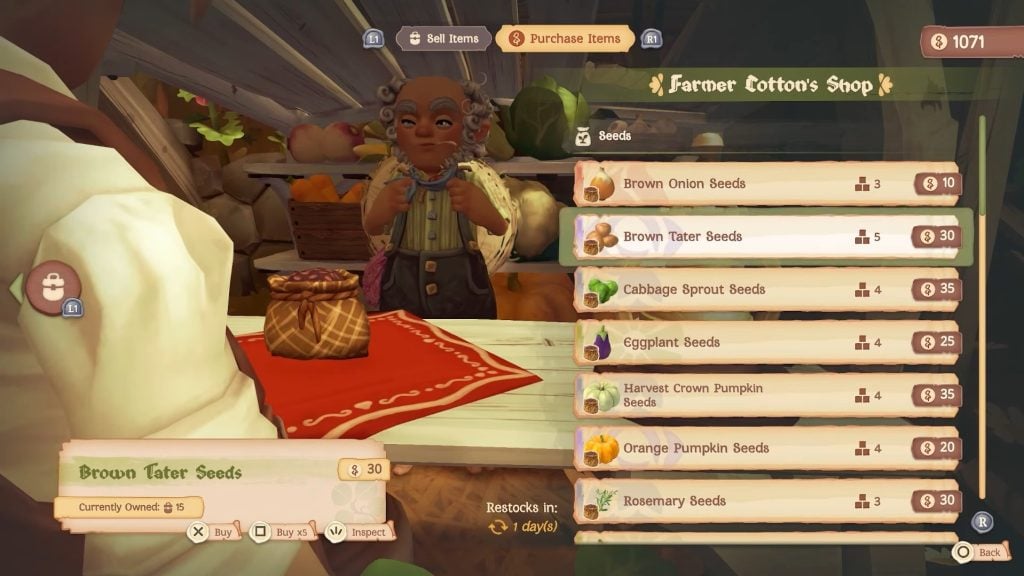
After getting a good understanding of the Garden Beds, the main procedure of Gardening starts with the Seeds. Initially, players will get the Brown Tater Seeds from the local during the initial main quest. Moreover, the locals give seeds as a reward for increasing friendship, and players can also purchase various seasonal seeds from the marketplace.
After getting the seeds, go to the Garden Beds to place the seeds. Equip the seeds from the bag and hover over the garden beds to get the option to plant the seeds. Moreover, each seed takes a certain portion of the garden bed. A circular radius will appear while planting each seed, determining the space it will take. You can easily plant two different types of seeds in a garden bed to grow more crops. However, it is not always a good move to plant two different crops together, unless they are compatible. Growing compatible crops in a suitable season will have different benefits, which can result in quality vegetables.
3. Watering the Crops and Their Maintenance
The next step in Gardening is watering the crops and keeping the soil moist. As players unlock the Gardening activity early in the game, they will get the Watering Can tool. The Watering Can tool is essential for watering the crops in your garden. Open the tool menu to equip the Watering Can and use it to water the planted seeds and crops. Like most of the farm-sim games, the Watering Can does not have infinite water. You have to fill up the Watering Can from time to time. Fortunately, there is a pond right beside your garden from which you can fill up the watering can.
You need to water every crop once every in-game day. If any crop is dry, it will show a water symbol with a red exclamation mark in the middle. It means you need to water that crop immediately. So, always check on your crops as soon as you start the next day in the game.
4. Harvesting the Crops
After maintaining your crops for a certain time, they will be ready for harvesting. Go near the crops to see if they have matured enough, and harvest them by interacting with them. Harvesting the crops sometimes will give you a corresponding seed, which you can plant back to grow it again.
Essential tips to remember for Gardening in Tales of the Shire
Here are some of the best tips to remember for potential gardening in Tales of the Shire.
Focus on Companion Planting to produce quality vegetables. Planting two compatible crops together in a garden bed will result in quality produce. Earlier in the story, you will also get the objective to grow a 2-star vegetable. The best way to do this is to plant Brown Tater and Maze seeds together during the summer.
Use the homegrown ingredients for cooking to gain bonus friendship during hosting meals.
Keep a track of the crops, fruits, and spices in your encyclopedia. It will help you understand seasonal crops.
Trade the crops you no longer require to earn money.
Focus on growing your garden as it contributes to Bywater’s recognition as a true hobbit village.
The post Basic Gardening Guide in Tales of the Shire appeared first on Nintendo Smash: Video Games News, Reviews & Guides.
No responses yet