This guide will walk you through the fifth chapter, Bárðarvík of Senua’s Saga: Hellblade II.
Chapter 5: Bárðarvík – Walkthrough
Follow Thórgestr and Fargrímr along the path and shortly after both of them will vanish. Keep on going on the path ahead to eventually reach a waterfall area which will initiate a cutscene and both of the vanish men will be back along with other people from the settlement nearby.
After the cutscene, follow Ástríðr to reach the cliff near the beach to look for the Sea Giant. Turn around and climb a wall ahead to continue following Ástríðr to eventually reach another wall. Interact with it to start climbing the wall and then follow her again to reach an open area where a fight sequence will begin against the Draugar.
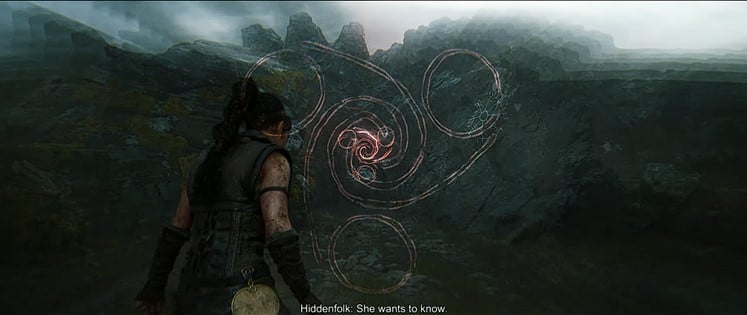
Defeat all the enemies and then go along the path on the left side to drop down a ledge and reach a blocked path. Here, you will have to solve the glyph puzzle to open the path ahead. You need to find three matching symbols as glyphs.
For the first glyph, go to the left side and focus on the bubble to change the world. Go through the opened path on the left to find another bubble, and scan it. Continue toward the path on the right and as you reach the dead-end, focus on the yellow patterns on the rocks to find the matching symbol.
Go back on the path and focus on the bubble on the right to reveal the path ahead. Move ahead and look to the right to find the second matching symbol. For the final symbol, go back to the starting area of the puzzle and focus on the bubble to revert the world. Look straight opposite of the blocked path and you will see a rocky path leading up to a hill.
Go up the hill to find the final matching symbol and unlock the blocked path. Follow along the opened path and you will find Ástríðr ahead. However, she will not be joining you for now as she has to warn her settlement about Draugar. Continue on the path leading down to the beach and you will reach another blocked path on the beach. Focus on the blocked path to start the puzzle and you will be required to find the three matching symbols.
For the first symbol, focus on the bubble in the ocean and then go to the left side of the crashed ship near the blocked gate. Focus on the bubble again to reveal a couple of ledges. Climb the ledges to go up and then go to the end of the path to focus on the bubble again. Now, go back a bit on the path to find the revealed path, and then go ahead on it to find the first matching symbol.
For the second symbol, go back to the beach and climb the ledge on the right side. Focus on the bubble to reveal the path ahead and you will find the second matching symbol.
For the third symbol, continue ahead on the path where you found the second symbol to drop down a ledge and climb a couple of them ahead. When you reach a gap on the path, look up on the right side to focus on the bubble to fill the gap. Continue ahead and focus on the bubble in the ocean to reveal a path leading to a small shack. Enter the shack and look through the window on the left to find the third matching symbol.
Now, make your way back to the beach and enter the open entrance to the cave. Go along the path in the cave to reach the water below. As you enter the water, a bubble will appear. Scan it to initiate a brief cutscene. After the cutscene, follow the blue light to learn the story of the sea giant. Once the underwater sequence ends, you will be at a settlement looking for Ástríðr to find out the name of the giant.
Follow the path to go ahead in the settlement to eventually come across an opened-door house on the left side. Entering it will trigger a cutscene. After the cutscene, a fight sequence with Draugar will take place. Defeat the Draugar to initiate a cutscene and after the cutscene, you will begin outside of Giant’s cave. Go into the cave and keep on heading straight until you find the giant.
Upon finding the giant, a cutscene will begin and after the cutscene, you need to run out of the cave and back to the stronghold point. While you are running, grab the spears on the way and throw them at the giant. If you don’t throw the spears, the giant will catch up to you and you start over. After reaching the stronghold point and throwing the last spear, a cutscene will begin which will take you in front of a giant tornado.
Make your way to the beach and then toward the tornado. As you reach the ledge, you will see waves of water splashing on the beach. Here, you need to go rock to rock while interacting with them to brace for the wave hit. If you don’t brace for the hit, you’ll start over. As soon as the first wave comes, drop down and go to the stone and interact with it. Once the wave hits, let go off the rock and then run to the next. Keep on repeating it until you are at a safe point on the beach where the waves can’t reach you.
However, despite the waves, rocks will start flying in on you. Look at the shadow of the rocks to predict your dodge to avoid getting hit by the rocks and keep on going ahead until you switch to another place.
Here, you only need to go along the path to find the giant, and reaching it will initiate a cutscene which will conclude the fifth chapter of Senua’s Saga: Hellblade II.
The post Senua’s Saga: Hellblade II – Chapter 5 Walkthrough appeared first on Nintendo Smash: Video Games News, Reviews & Guides.
No responses yet