This guide will walk you through the first chapter, Reykjanestá of Senua’s Saga: Hellblade II.
Chapter 1: Reykjanestá – Walkthrough
As Senua washed off to the rocky side of the island, walk ahead and climb a couple of ledges and then continue on the path to reach a wall. Senua will begin to climb the wall but you need to hold the forward action key to make the climb.
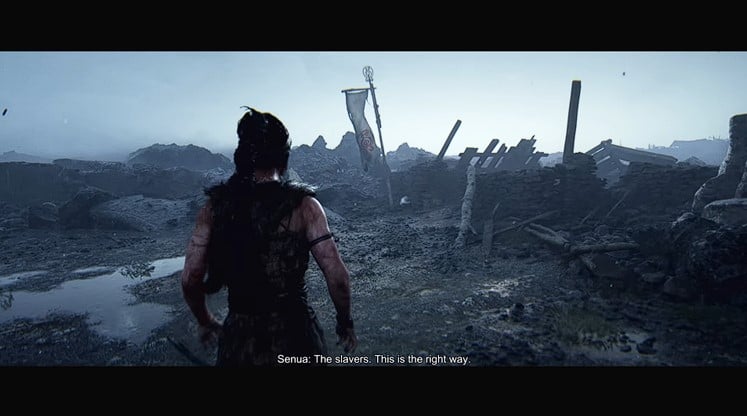
Upon making the climb, a brief cutscene will play and after the cutscene, you need to follow the path ahead to climb down a ledge and follow the screaming to the right. Continue ahead to get to a cliff where you have to hug the wall to cross to the left side. After crossing to the other side, continue ahead to see the Symbol of Slavers and then go along the path beside the flag.
At the next corner, you will see a totem on the right with a glowing symbol on it. Hold the LT/RT to focus on the symbol and you will hear a voice. After that, continue ahead on the path to see a person walking up the hill. Go up the hill to see two persons fighting each other and falling to their deaths off the cliff.
TIP: Don’t forget to hold the LB to Sprint.
Head to the left from here and continue on the path below to reach multiple paths ahead. Take the path in the middle and then turn right to go along the openings ahead to find a clear path ahead. As you cross ahead and go to the narrow path ahead, it will get blocked and a strange symbol will appear.
Hold the LT/RT to focus on the symbol and then head back to the rock in the middle and see in the air to match up the flying symbols. Once done, the path ahead will open for you to cross.
Continue ahead on the path to find the Slavers’ ship washed up on the shore. Go to the left side of the ship and continue ahead along the shoreline while listening to the dead and the survivors of the ship. Eventually, you will reach a narrow path between the two rocks, push forward to cross through it and a cutscene will start in which you will get attacked by a stranger and earn yourself a sword.
Go ahead towards another ship in the distance and you will be engaged in the first fight of the game. Press the X for a quick strike and Y for a heavy strike, and press the A to dodge and RB to parry the incoming attack. The first enemy will be an easier one and you can easily obliterate him with heavy strikes.
After defeating the first enemy, go to the left side and hop over the wooden barricade to engage in the second fight. Defeat the enemy, continue ahead on the path to the right, and go along the shoreline toward another ship in the distance. However, you will be attacked by another stranger along the way so take care of him as well.
Once done, reach the ship ahead and interact with it to crawl under it. Here, you need to interact with the items ahead of you to move them out of your way and keep your thumb pushing the forward action to go ahead.
Coming out of the other end of the ship will put you in another fight sequence where you have to defeat two enemies one after the other. These enemies will be a little tougher so dodging their attacks and then hitting them with follow-up attacks is preferred.
After defeating the enemies, continue ahead on the path in front to get to the final ship where you will find the Slave Master. It is a sort of a boss fight as this enemy is pretty tough and it will only be possible for you to hit him while dodging all of his incoming attacks first.
He will first strike you with a couple of normal attacks that can be both blocked and dodged (preferred) and then he will do a heavy follow-up attack where a bright red light will appear on his weapons. You can block the heavy attack but it will stagger Senua so it is best to dodge the attack and then quickly do a barrage of quick attacks on him until he blocks one.
Now, rinse and repeat until you defeat him. Upon defeating the Slave Master, a cutscene will begin which concludes the first chapter of Senua’s Saga: Hellblade II.
The post Senua’s Saga: Hellblade II – Chapter 1 Walkthrough appeared first on Nintendo Smash: Video Games News, Reviews & Guides.
No responses yet