Venturing across the vast seas among three different regions in Skull and Bones will often let you find settlements other than the main outposts. These settlements offer to trade to get various useful resources that are needed for crafting various tools and weapons for the ship.
However, alongside simply trading at these settlements or accepting contracts, players can initiate the plunder to take over the settlements and loot everything that they have to offer. Not only do you get resources and Silver for a successful Plunder but earn Infamy as well which is crucial for unlocking new ships and much more.
In this guide, we’ll tell you how to plunder settlements in Skull and Bones.
How to Plunder Settlements in Skull and Bones
There are several settlements in each region that you will be able to plunder but do note that each settlement’s difficulty varies on the number of chests that they have to offer. The number of chests appears once you have initiated the plunder sequence by going close to the settlement and pressing the Y/Triangle button. The easier settlements will have 4 chests while medium and high difficulty settlements will have 5 to 6 chests.
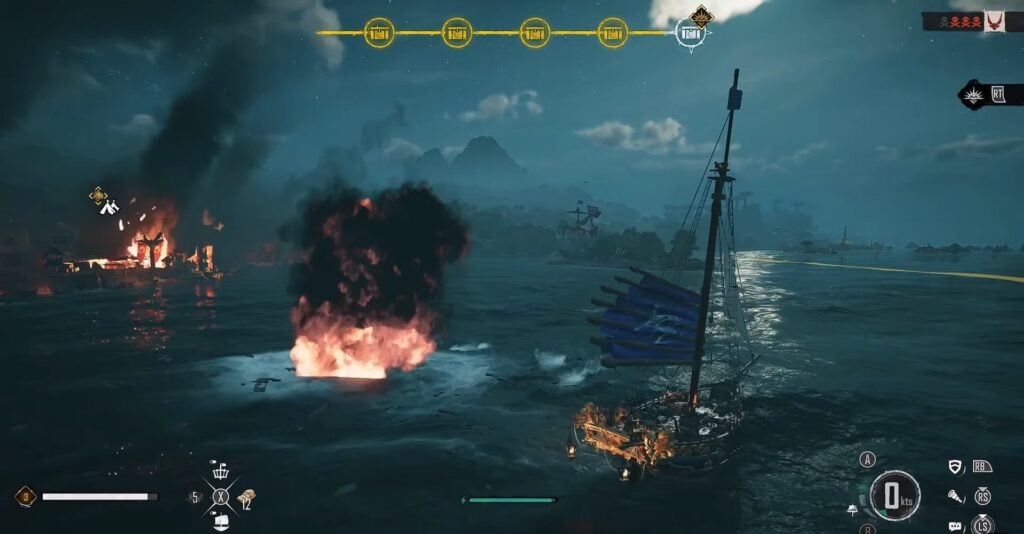
These chests can be seen on top of the screen and act as a progression bar for the plunder. Upon beginning the plunder, you will see the number of enemies alongside either a mark of a tower or a ship. For instance, if there is a ‘1’ tower, you need to shoot the canons at the tower located in the settlement to destroy it. Similarly for the ships, you need to destroy all the enemy ships in the area.
Upon killing all the enemies in the first wave will drop a chest that you will be able to collect and pursue the plunder. For every next chest, you need to defeat the wave of the enemies until you have acclaimed all the chests and completed the plunder.
Plundering is not a one-time activity so, if you have plundered a settlement, you can plunder it again once its cooldown has over. So, if you need resources or Silver in general, make sure to sail close to the settlements to see if they can be plundered or not at the moment.
Tips and Tricks for Completing the Plunder Successfully
Plundering takes a bit to complete as you would have to defeat every enemy wave to secure the chests and it is essential to become prepared as not all enemy waves are easy to defeat.
The first and foremost tip that I would personally give you is to be stacked on Repair Kits to repair your ship. As you would be getting hit both by the towers and the enemy ships, it is essential to keep your ship floating and deal with the enemies to complete the plunder. Bring as many Repair Kits as you can to have a higher chance of securing the goodies.
The second tip that I would give you is to take out the towers first as soon as you start the plunder sequence. Once the towers are destroyed, the rest of the waves will be easy to handle if you have better weapons equipped on your ship.
The third and final tip for plundering is to have a stronger ship equipped with better weapons, especially if you are targeting high-level settlements.
The post Skull and Bones: How to Plunder Settlements appeared first on Nintendo Smash: Video Games News, Reviews & Guides.
No responses yet